| Assembling the wing
The wing on this kit is not much different to any other kit on the market, but there are two areas that I found annoying.
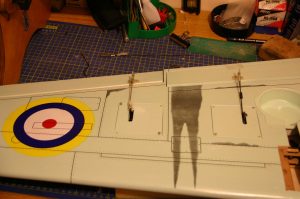
1. The flap linkage is designed to be hidden inside the wing and exits via a small slit just forward of the flap. However, if you are using standard servos for the flaps this poses a slight problem in that the wiring for your aileron has to travel past or near the flap servo horn. As I was not keen on this idea, I did what most other kits do and fitted the flap servos and linkages the same way as they fit aileron servos.
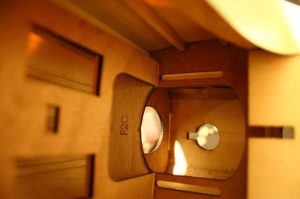
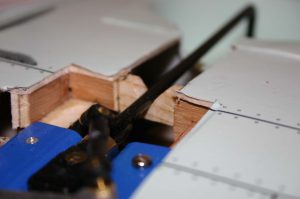
2. The retracts for this kit are purchased separately and are of the 90 degree rotating type which can be difficult to come by. I really wanted to fit some servoless retracts but at the time of the build, no UK suppliers stocked them. However, I did managed to get hold of a set of the VQ mechanical retracts for this model. The main problem I came across with the retract installation was that the mechanical operating arm chafes on a section of the wing spar.
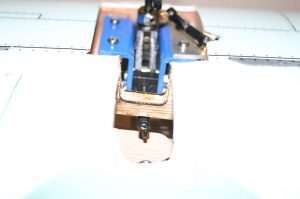 � � 
When I first looked at this problem I wondered what VQ had done as it was obvious that there must have been a design oversight. What looks to have happened is that in order to allow the retracts to close, a section of the spar in the wing has been cut and lowered. This is then strengthened with a ply U-shape former. However, what appears to have happened in doing this is that the spare has been lowered approximately 10mm when it only needed to be lowered 5mm.
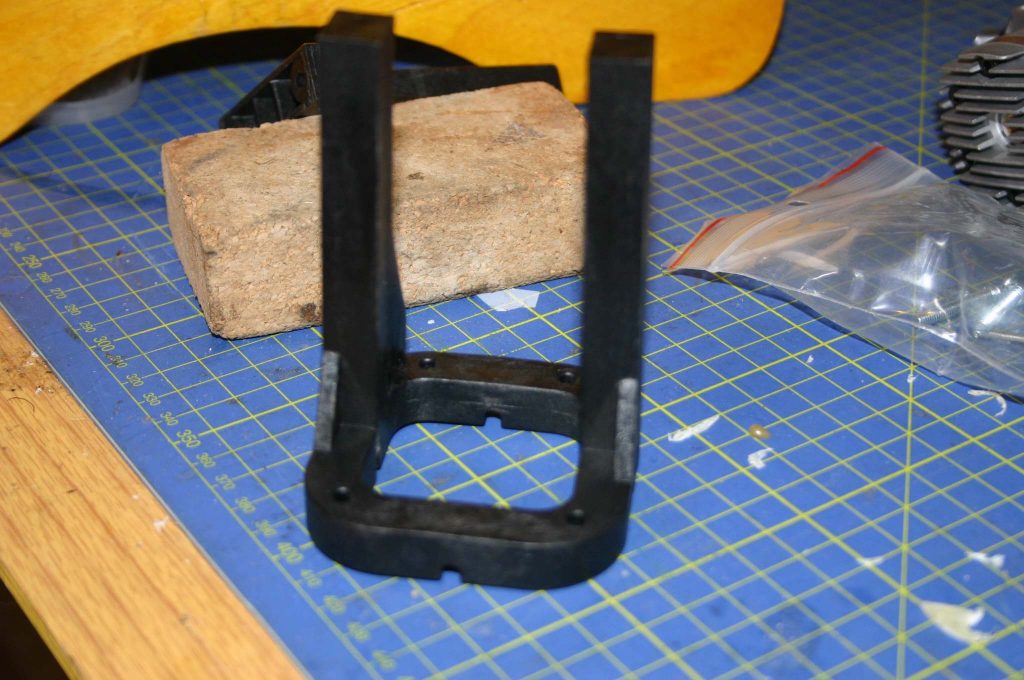
The fix for this was quite straight forward in that I cut the lowered section out and fitted my own support, which allowed clearance on the retracts.
 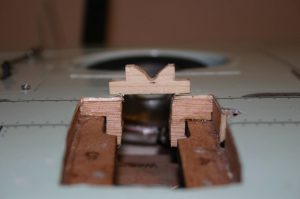
On the new spar insert I also added a V-shape to the block to help centre the retract. Mechanical retracts can be a bit sloppy and cause the wheel to snag on the wheel bay.
Other miscellaneous points
Other minor points that I had to look at were as follows:
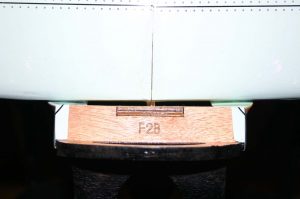
The gap between the wing leading edge and the bulkhead needed a 3mm ply shim fitting to make the fit nice and snug.
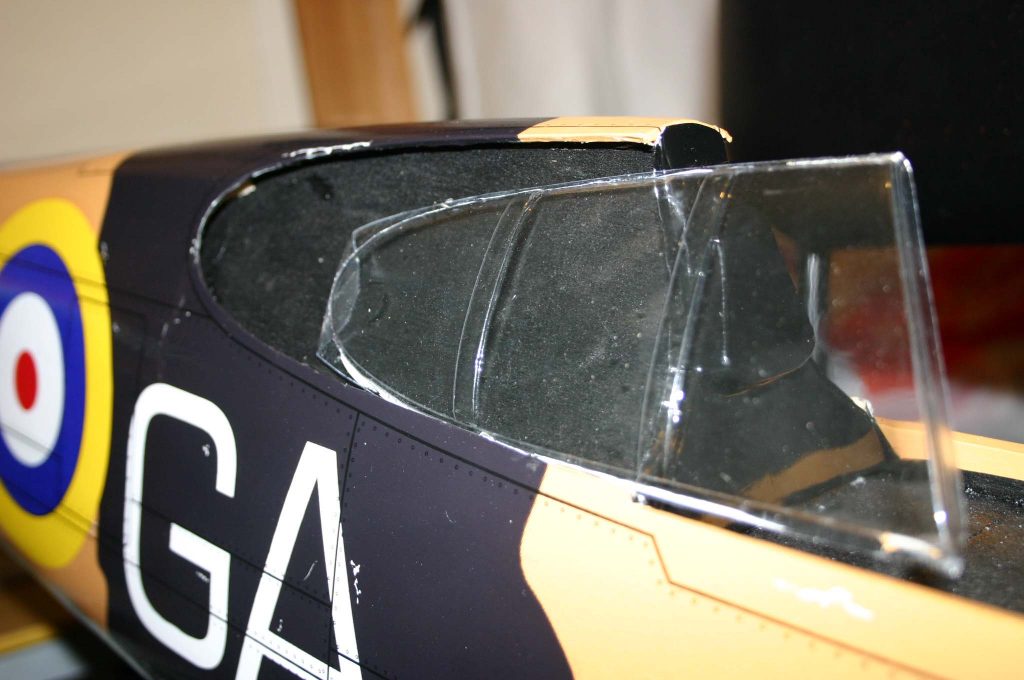
The cockpit side glass needed to be popped out to paint the struts in on the plastic. You do get stick on strips for the canopy but these will not last 5 minutes so it was easier to apply paint to the inside.
|